WORM BIN STATUS AFTER A WEEK

This is how the bin would look like after a week. The grass and water melon are totally gone!
Remember the "left to right technique". You can see from the picture, the left side is the old compost. Middle will be 2 weeks old compost with food (you will find lots of worm here) and right are 1 week old newspaper with food scrap.


Showing of my 2 weeks old food scrap. Contains left over of banana peel, tea bag, mango, apple and etc.
This container is kept inside the refrigerator.


Pour the food scrap out and mix it around. Remember to tear off the tea bag/coffee so that the worms can get into them.

WORM BIN CREATURE - GOOD AND BAD

Besides worms, many creatures will start to populate the worm bin naturally. All the photos are taken off the internet. I don't have a macro camera :(

Good (helps worm break down decaying material)
  1. Millipede

  2. Sow bug or wood lice


  3. Ear wigs - looks harmful but they are not


  4. Mold and fungi (white is good, black is bad)


  5. Soldier fly larvae - Helps break the material but I always have doubt if its thick "fur" irritates my worm. LoL


  6. Unknown small cone snail - but i find them able to eat all the food scrap faster then anything else


Bad (harmful!)

  1. Red Mites - they are predator

  2. Centipede - they eat worms. Poisonous to humans too.


  3. Slug - they eat worms like spaghetti

  4. Flat worm - looks can be deceiving. They swallow worms whole!


Not sure
  1. Spring Tail - My bin was once infested by PINK spring tail and 90% of the worm died.

Preparing food scraps

You'll need 3 empty small ice cream containers.

  1. Start by place all the food scraps (apple skin, veges, tea bag, coffee bean and etc) into first container.

  2. Always keep them in the refrigerator.

  3. Once the first container is full, start filling the second container followed by the third container.

  4. Depending on how much food waste you have, usually I have a container full in one week.

  5. This way, you will have fill up all the containers in 2-3 weeks time.

  6. You may now give the food scrap from 1st container to you worm. Food which are 1 week are ready to be consume by worms.


Maintaining worm bin - The left to right technique ( or right to left - watever!)


This is for people who already have a worm bin for 3 months and knows the basic. This technique is easy because you only need to maintain the bin once a week. It looks something like these:

[OLD COMPOST] -- [1 Week old Decaying Material] -- [New Bedding with food scrap]


Illutration:

  1. To my left are the old compost. In the middle are where 1 week old bedding & decaying matterial are. To my right are new bedding.


  2. This is how the 1 week old decaying material looks like.


  3. I start by pushing everything to the left (litterally). This leave an empty space on the right. Please be gentle, worms will die if you cut them in half! Rumors having 2 worms when you cut them in two is fake.


  4. Now place the new bedding on the empty space. Add food scraps in the new bedding. Then sprinkle water on top of the bedding. Make sure it is moist but not wet.  Dry bedding will discourage worms away.


  5. They love water melon, if you have some, just put them on top or else you are already done


Finally, cover the new bedding with dry grass & old compost to discourage foul smell. No dry grass? Just make sure you food scrap is under the bedding then.


!!! REMEMBER to keep the bedding as loose. Worms needs air to breath.

Important things you should know about worm bin

  1. Worms like moist, dark cool environment (store room, basement, garage)
  2. Never flood the worm bin. Water will drown the worms or they will try to escape.
  3. Drill enough holes evenly to drain water. Don't worry, worms will not escape through the hole.
  4. Never be too dry either.
  5. The food scraps are usually wet so you only sprinkle water on the bin once a week
  6. Worms like neutral environment. Food scraps are usually acidic until bacteria or fungus break them up.
  7. Worms do not have teeth. Creatures like wood lice, soldier fly larvae and fruit fly larvae are good friends.
  8. Cover the bin. Cats, lizard, bird and etc love worm bins.
  9. Never over feed!!
  10. Mixture of fruits, veges, grass, newspaper and etc. Other words BALANCE DIET.
  11. Don't give greasy food, salty food and meat.
  12. Since they don't have teeth, worms needs some fine sand to grind the food. Add some clean sand.

SETUP OF NEW WORM BIN

WORM BINS are pretty easy to manage. Just remember that worms like humid, temperate and dark places. Why? Because that is their natural habitat.

Worms do not have teeth. So they need small amount of sand to crush their food. They will swallow or suck in juices or small food particle. Thus, companions like bacteria, snail & wood lice are good friend of worms by breaking down big pieces of food into smaller once.

To setup a worm bin, you will need


  1. Newspaper
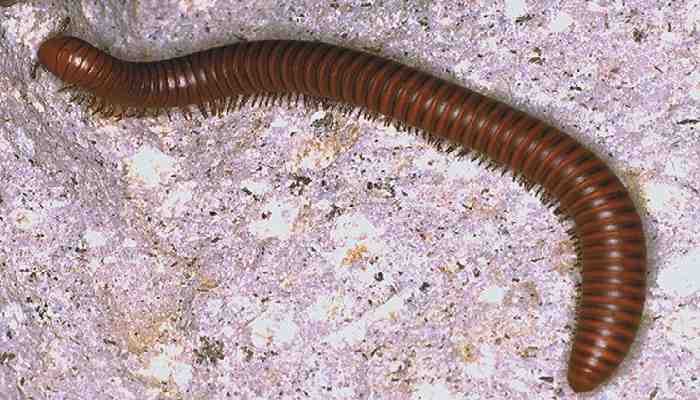
  2. 300gm Worms (buy from local pet store, online, or dig from garden)
  3. 30 Liter of plastic bin with drainage holes (you may choose bigger or small container)
  4. 30 table spoon of garden soil
  5. Water
  6. 100gm of old fruit scraps kept in fridge (about 1 week old)

Detail Instructions


  1. Newspaper has to be shredded into strips.

  2. Moisten the stips by dipping in water or sprinkle it with water.
  3. Now, dry the strips to ensure its not dripping. You worm will drown if its too wet.
  4. Place the strips in the plastic container.

  5. Now mix the soil in together with the worms.
  6. Now, give them food.
  7. Do not give fresh fruits. Worms don't have teeth. It waits for the food to decompositions before they can consume it.
  8. Giving fresh fruit will cause the bin to become acidic and bad fungus(black) might grow which worms hate it.


  9. Add the 1 week old fruit scraps. And cover it with a thin layer of newspaper strips

  10. Cover the worm bin.
  11. Leave the worm bin alone for the next 5 days before adding new food scraps.
  12. You are done! Congratulations!
Related Posts Plugin for WordPress, Blogger...